How To Sand Pavers
in Naples FL
A complete Naples guide to sanding pavers — why joint sand matters, the step-by-step process, why polymeric sand is worth it, and what it costs. Most Naples paver sanding jobs: $199+.
📞 Call for a Free Quote — 239-544-1165Paver Sanding
Locks The Joints
Competition
Quote
Sanding pavers means filling the joints between them with joint sand — the material that locks the pavers in place and keeps the whole installation stable. Over time, that sand washes out from rain, pressure washing, and traffic, and the pavers start to shift, separate, and grow weeds.
The process is straightforward in principle: the joints are cleared out, fresh joint sand is swept into the gaps between the pavers, the pavers are compacted to settle the sand down into the joints, and the sand is set so it stays put.
The single biggest decision is what sand to use. Regular joint sand works but washes out again. Polymeric sand contains binders that harden when activated with water — it resists washout, weeds, and insects far better and lasts much longer in Naples’ rain and humidity.
Done correctly, sanding pavers re-locks the installation, stops the pavers shifting, and blocks weed growth in the joints — extending the life and appearance of a paver driveway, patio, or pool deck.

The sand you use matters most. Polymeric sand contains binders that harden with water — it resists washout, weeds, and insects far better than regular joint sand and lasts much longer in Naples’ climate.

1. Open up the joints. Tired sand, roots and packed grit come out first, leaving each gap clean enough to accept new material. Nothing goes in until the surface and joints have dried.
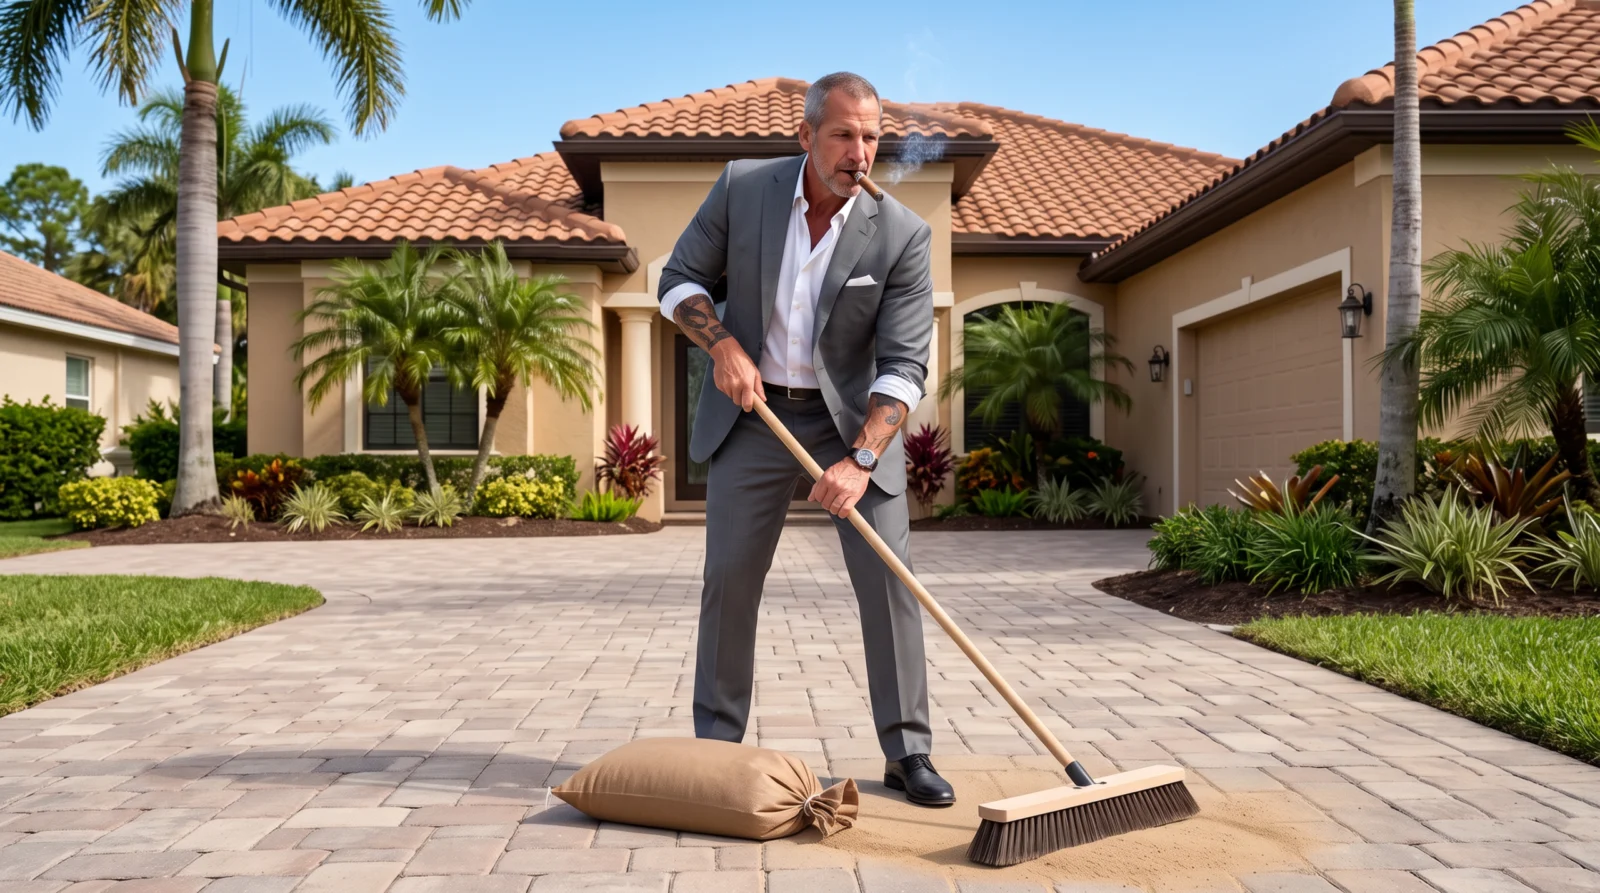
2. Broom the sand across. New jointing material, usually polymeric, is spread over the pavers and pushed with a stiff broom until every gap is brimming.
3. Vibrate it down. A plate compactor shakes the field so the sand drops deeper, then a second round of sweeping and vibrating tops the joints back up.
4. Clean the faces, then wet it. Loose grains come off the paver tops with a soft broom and blower before a gentle shower wakes up the binder in the joints.
Skip the vibration, leave grains on the surface or flood the joints with too much water, and the new joints can fail long before they should. Each stage is short; the discipline is in not rushing any of them.
Joint Sand Washes Out
Naples rain, pressure washing, and traffic gradually wash joint sand out of paver gaps. Once the sand is low, the whole installation starts to loosen.
Weeds Take Over
Empty joints are the perfect place for weeds to root. Re-sanding — especially with polymeric sand — fills the gaps and blocks weed growth.
Pavers Shift & Separate
Joint sand is what locks pavers together. Without it, pavers shift, separate, and become uneven — a trip hazard and an eyesore.
Re-Sanding Re-Locks It
Sweeping fresh sand into the joints and setting it re-locks the installation, stabilizes the pavers, and restores the finished look.
Every sanding job is priced from a free online quote. The area, how far the old sand has eroded and whether the pavers must be washed first set the number, and we do not guess over the phone. Starting points for Naples:
We are consistently 15–30% less than the competition. No franchise fees, no corporate overhead. Call us after getting other quotes — we will beat them. Call 239-544-1165 for a free online quote.

“I started this company to give Naples homeowners a professional option that doesn’t cost a fortune. We do the same quality work as anyone in this market — for less. That’s my promise.” — Blane Perun
15–30% Less Than Competition
No franchise fees, no corporate overhead. Blane runs every job personally.
Florida Licensed Contractor
Fully licensed and insured. COI available on request.
Pre-Approved Access
Pre-registered with most major Naples gated communities. Gate coordination handled directly.
We provide paver sanding in Naples FL and throughout Southwest Florida:
Polymeric sand is unforgiving about moisture, and Naples weather is the variable most DIY jobs lose to. Alliance Gator’s ten-step installation guide starts with a moisture check because the sand must go onto a dry surface. It then sets a rain rule: no rain in the forecast within one hour of installation when the pavers sit on a drainage base, and within 24 hours on a non-drainage base. The company’s answers to common questions add that rain within 24 hours of installation can stop the joints from hardening properly.
In a Southwest Florida summer, that usually means working early, before the afternoon clouds stack up. A joint that gets soaked before it sets has to dry out completely before it will harden, assuming the sand has not already washed away. Overnight dew on a shaded patio can also leave the pavers damp well into the morning, so the moisture check is literal: feel the joints, not just the paver tops.
Re-sanding an existing patio is a repair, not a new install, and the old sand has to go. Alliance Gator advises removing at least an inch of the existing jointing material and suggests a pressure washer with a 25-degree tip at a minimum of 3,000 psi for the job. Material that stays put after that wash can usually remain, and the washed-out zones are then refilled. The company specifically warns against spreading a thin layer of polymeric sand over what is already there, because the old material may be dirty or in unknown condition.
That deliberate flush is the opposite of a routine paver wash, where the goal is to keep sand in the joints. It is also the step that floods a lanai or driveway with slurry, so we plan where that water and grit will go before starting, and the pavers then need time to dry fully before a single bag is opened.
Overfilling is one of the quiet ways a sanding job fails. Alliance Gator’s guide calls for sweeping the sand in with a hard-bristle broom, running a plate compactor, then sweeping and vibrating once more so the joints are fully packed. After that, a fine-bristle broom clears the surface and the sand should finish about 1/8 inch below the top of the paver. A blower removes the last residue; the company notes that its G2 Intelligent product needs only sweeping at this stage.
Treat that reveal as a target rather than a suggestion. The same guide brings the blower back after watering to clear any remaining residue and residue-laden water, so the paver faces get a second chance to come clean. The extra pass costs minutes; skipping it just moves the cleanup to later.
The final stage activates the binder, and Alliance Gator describes it precisely. Set the hose to a shower pattern and sprinkle from about four feet up, waiting no longer than three to four minutes and never wetting too large an area at once. Then shower and rinse from about two feet, again within three to four minutes, and finally shower and rinse together until white foam or puddles appear on the pavers, which is the signal to stop. The surface must not dry out during watering, and leftover residue-laden water is blown off at the end. The G2 product needs one watering.
If a white bloom shows up weeks later, the company says it is most likely efflorescence that usually fades with time. On a new installation it recommends waiting about 60 days before using an efflorescence cleaner, which is a useful reminder that a freshly sanded patio should not be attacked with chemicals the moment it looks less than perfect.
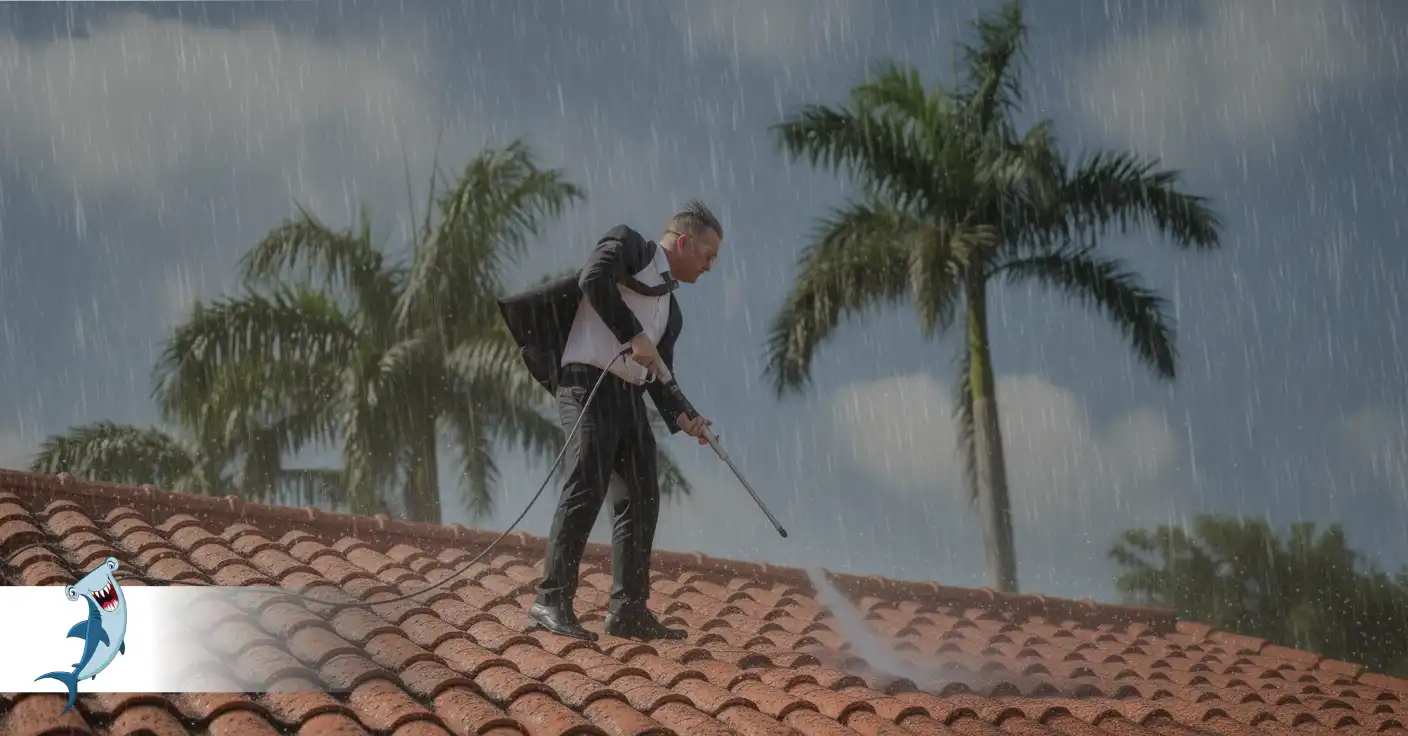
Black streaks GONE in 1 visit — and they stay gone for 2-3 years.
Soft wash chemistry kills Gloeocapsa Magma at the root, not just on the surface. No high pressure, no tile damage, no voided warranty.
Get Your Free Quote
Tell me what needs cleaning and where — I'll send a firm, no-obligation price by text or email, usually the same day.
Get My Quote →Lock in the best day for your schedule
Reserve the best time and date for your schedule and I'll follow up with your numbers. No payment to hold a spot and no obligation to keep the booking — reserve now, decide once you have the price.
About the Author

Owner Blane Perun started this company with a simple premise: Naples homeowners deserve a professional exterior cleaning option that doesn’t come with the inflated pricing of franchise operations and large corporate companies.